Best GoPro Settings for all FPV pilots
Recommendations might help you to get started, but ultimately you should learn about manual settings for cameras in order to get the most out of them. And please make sure you test the settings before going out to shoot to avoid surprises.
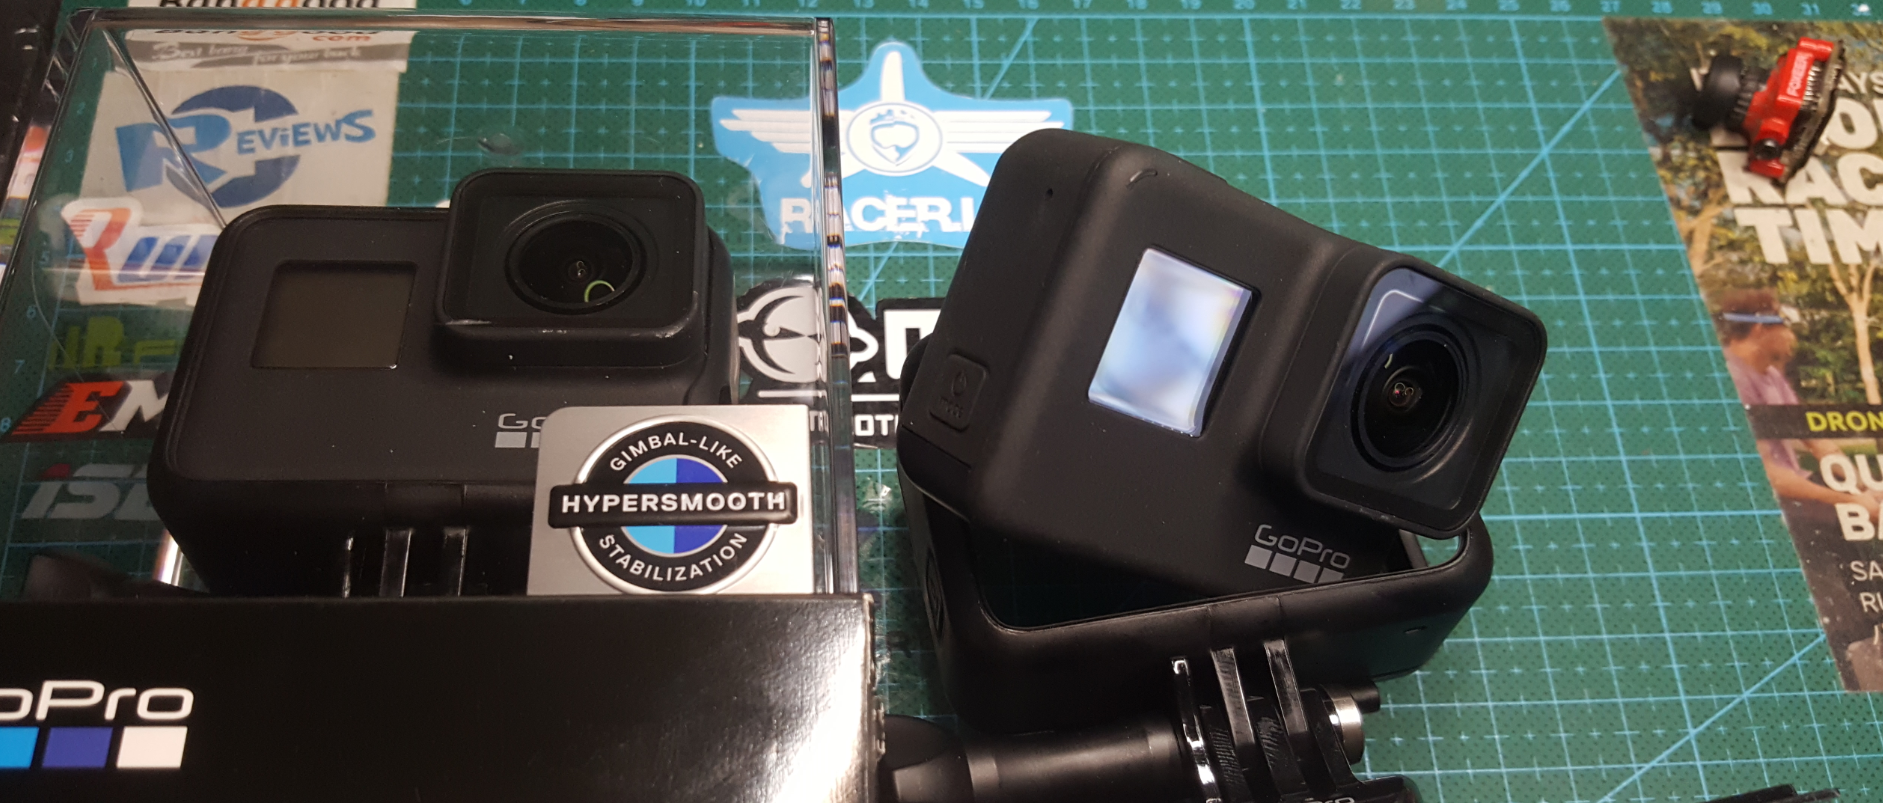
Hypersmooth (GoPro 8 & GoPro 7)
| Hero 8 | Hero 7 | |||
| Resolution | 4K | 2.7K | ||
| Frame Rate | 30 | 60 | 30 | 60 |
| Shutter Speed | 60 / 120 | 120 / 240 | 60 / 120 | 120 / 240 |
| Aspect Ratio | 4:3 | 4:3 | ||
| FOV | Wide | Wide | ||
| Stabilization | Auto | Auto | ||
| Protune | On | |||
| White Balance | Native or 5500K | |||
| ISO Min | 100 | |||
| ISO Max (Limit) | 100 | |||
| Color | Flat | |||
| EV Comp | 0 | |||
| Sharpness | Low | Low | ||
| Raw Audio | Off | Off | ||
| Mic Setting | Wind | Wind | ||
Reelsteady GO (GoPro 8 and GoPro 6)
| Hero 8 | Hero 6 | |||
| Resolution | 4K | 4K or 2.7K | ||
| Frame Rate | 30 | 60 | 30 | 60 |
| Shutter Speed | 60 / 120 | 120 / 240 | 60 / 120 | 120 / 240 |
| Aspect Ratio | 4:3 | 4:3 | ||
| FOV | Wide | Wide | ||
| Stabilization | Off | Off | ||
| Protune | On | |||
| White Balance | Native or 5500K | |||
| ISO Min | 100 | |||
| ISO Max (Limit) | 100 | |||
| Color | Flat | |||
| EV Comp | 0 | |||
| Sharpness | Low | Low | ||
| Raw Audio | Off | Off | ||
| Mic Setting | Wind | Wind | ||
Session 5
| Resolution | 2.7K |
| Frame Rate | 30 |
| Shutter Speed | 60 / 120 |
| Aspect Ratio | 16:9 |
| FOV | Superview |
| Stabilization | n/a |
| Protune | On |
| White Balance | Native or 5500K |
| ISO Min | 100 |
| ISO Max (Limit) | 100 |
| Color | Flat |
| EV Comp | 0 |
| Sharpness | Medium |
| Raw Audio | n/a |
| Mic Setting | n/a |
Now, let me explain each setting in a bit more detail.
Resolution
Use the highest resolution that your computer can handle. Higher resolution results in larger file sizes and requires more computer processing power to edit and render it. It would be extremely annoying if you filmed at 4K but your computer kept crashing when editing it.
Also, there is no point in recording 2.7K or 4K if you are just going to export it in 1080p either, unless you want to be able to zoom in, but we don’t normally do that with FPV footage.
Note that a higher resolution may offer higher bit rate, you can find out in the data sheet, for example here is the bit rate of the GoPro Session 5:
- 1080p 60fps – 45Mb/s
- 2.7K and 4K 60fps – 60Mb/s
FOV (Superview)
FOV, or field of view, is how wide the image looks, you normally have the options of Narrow, Medium, Wide and Superview.
Superview is the standard in FPV since the wider vertical field of view makes your footage look more stable, smoother and faster.
Unless you are using Reelsteady, in which case you’d probably want to choose Wide, otherwise, always choose Superview,
Aspect Ratio
There are two aspect ratios: 16:9 and 4:3.
The native aspect ratio of GoPro sensor is 4:3, so selecting 4:3 as your aspect ratio, will make use of the full sensor information. When selecting 16:9, it will simply crop the top and bottom of the sensor. In case you don’t already know, Superview is actually dynamically stretched from 4:3 to 16:9, hence the super wide FOV.
If you use Reelsteady, always choose 4:3, as the software will export a 16:9 clip.
FPS (Frame Per Second)
When it comes to frame rate (FPS), I normally use 30FPS because it tends to show less jello and looks more “cinematic” than higher FPS. If you are going to play with slow motion, then 60FPS and 120FPS might be better options.
Shutter Speed
If you don’t use ND filter, just set it to Auto and let the GoPro manage its own shutter speed.
Shutter speed affects how much light it lets into the sensor, it changes the exposure of your image.
Apart from exposure, shutter speed also affects the look of your image. Faster shutter speed results in sharper image, while slower shutter speed results in more motion blur and so called “cinematic” look.
The general rule of thumb is to set shutter speed to a multiple of frame rate, according to the “180 degree rule”. For example, 1/60 for 30fps, and 1/120 for 60fps. With lower shutter speed than that, your image might be over-exposed, with lots of motion blur that looks terrible.
Note that when you set shutter speed to a fixed value, you should use ND filter on the GoPro in order to get the correct exposure. I recommend having ND8, ND16 and ND32 filters available for different lighting condition (ND2 and ND4 basically useless).
Setting the correct shutter speed in the GoPro takes some work, because you might not be able to see live preview. Here is a trick I use: I usually set shutter speed with the camera facing the brightest area of my shot, make sure nothing is too overexposed (blown out). It’s okay to have dark areas as it can be easily recovered in post, but overexposed areas are normally not recoverable.
If you use Reesteady GO, make sure you don’t introduce too much motion blur as the software works best with clean and crisp video. To do this, you might want to use higher shutter speeds.
And I’d rather under-expose than over-expose, as this will minimize the amount of oscillation and jello shown in your footage.
Protune
Recommended Setting: Protune On
By enabling ProTune, it increases the bit-rate, as well as the dynamic range of the image, this helps tremendously when it comes to color correction and color grading later.
Color
Recommended Setting: Flat for Pro, GoPro Color for Beginners
- Flat – the video would look more neutral and low in contrast and saturation
- GoPro Color – the result would look very vivid and nice
Basically Flat Color has higher image detail and allows more room for the user to “color grade” in post editing later. Flat color is not designed for direct consumption, it’s for those who know how to color grade in post. If you are new to making FPV videos, maybe you should just stick with “GoPro Color”.
Color grading your videos is a great skill to learn. It will bring your videos to a whole new level. To do this, get a decent video editor, such as DaVinci Resolve, Adobe Premiere and Final Cut Pro X.
Stabilization
Hero 7 and 8 come with Hypersmooth, and it works well. However, stabilization in any previous GoPro’s should not be used for FPV. It actually makes it look even worse :)
If you want to use Reelsteady, then you should turn the stabilization off on the camera.
ISO Limit (ISO Max)
Recommended Setting: As low as possible depends on lighting
ISO is the digital enhancement of light, it’s a digital way of adding more light to the image. Generally the lower ISO the better, because high ISO introduce more noise to your image where there isn’t enough light.
ISO changes the exposure of the image, it works like an “signal amplifier”. The Higher ISO, the higher sensitivity to light, and it’s great for dark environment. But it also introduce/amplifies digital noise. The problem can be seen as “grainier” image.
You should set your ISO as low as possible as high ISO makes your footage grainy and noisy.
When setting the ISO limit, you are not setting a fixed ISO value, but rather just the maximum ISO the camera is allowed to use. For example if 1600 ISO limit was set, the camera could be using ISO from 100 up to 1600.
Setting a high ISO is good for flexibility, but if you want the most consistent and cleanest possible image, it’s best to keep your ISO as low as possible given the lighting condition.
White Balance
Recommended Setting: Native for the Pro, otherwise use 4500K or 5500K. Setting it to a fixed value ensures consistent white balance and you can adjust it later in post. But if you don’t know how to work white balance in the post, just set it to auto.
White balance determines the colour temperature of your footage. Unless you are filming indoor where there is light source (e.g. bulbs) that might change the colour of the environment in an unnatural way, you might want to just leave this at default.
Uploading to Youtube
When uploading FPV videos to Youtube, fast motion will almost always get ruined by Youtube’s compression (in order to save storage). Areas where a lot of detail is required such as grass and leaves on a tree, will most likely appear pixelated.
If you upload a video with a higher bit rate than Youtube wants, it just compresses it anyway. And it probably does a worse job than your video editor would.
Another popular approach is to “upscale”. For example, if your video is recorded in 2.7K, export it as a 4K video; or if it’s recorded in 1080p, export in 2.7K. Even though the bit-rate might be the same when you upload it, Youtube will allow higher bitrate for the higher resolution videos to play back and it will look better.