How to make your own collapsible drone gates

In this guide, BryanU8 plans to show you how to make your own collapsible drone gate!
Step 1: Items Needed:
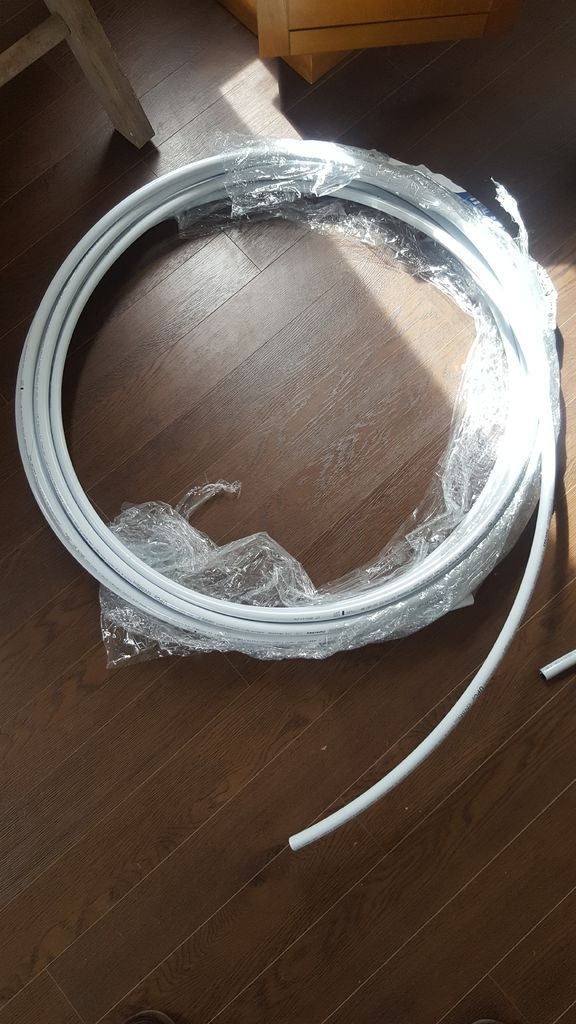
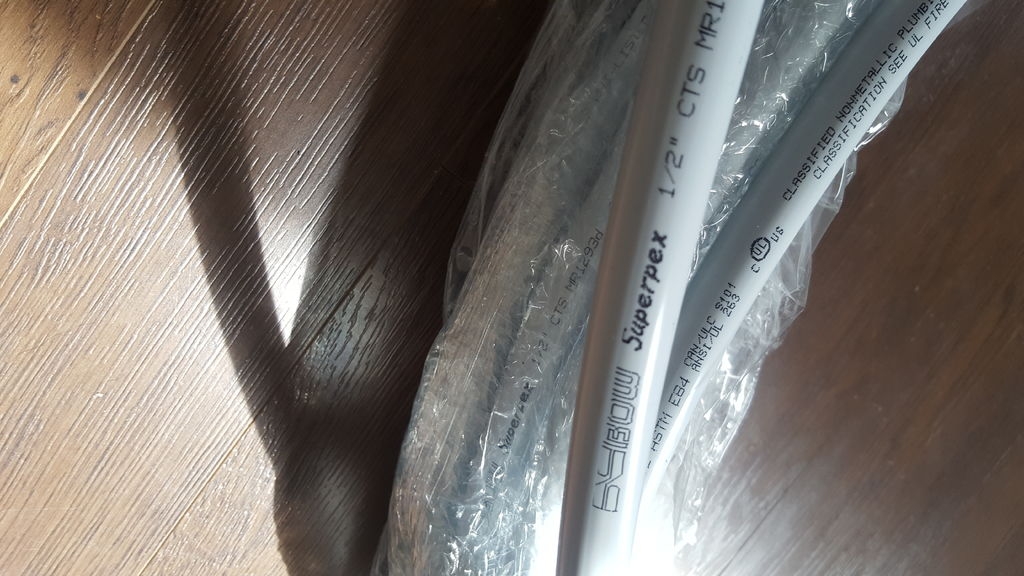
-1/2" pex tubing (I used 1/2" as it fits nicely into the pool noodles I used. I bought 100' which cost $29.99 at my local hardware store.)
-1/2" pex elbows (I bought 10 at $0.95 each as I was only planning on making 5 gates. Make sure they are 90°, I used the plastic ones, but metal ones will work as well.)
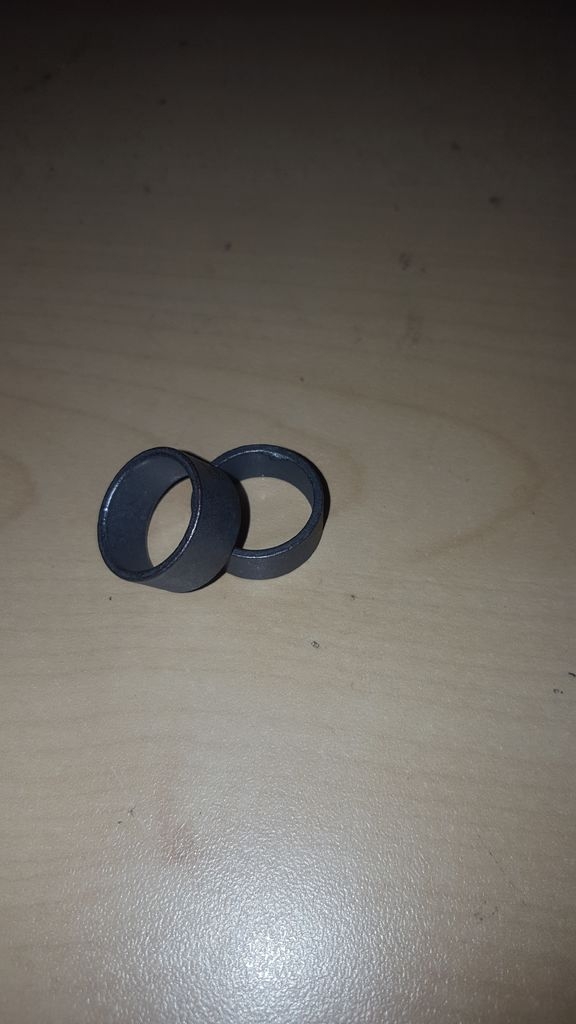
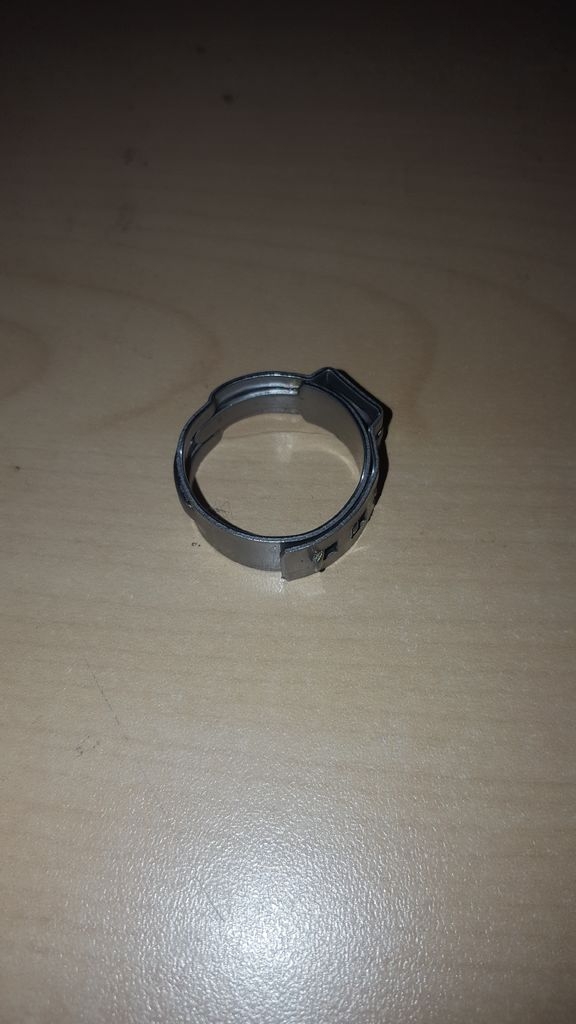
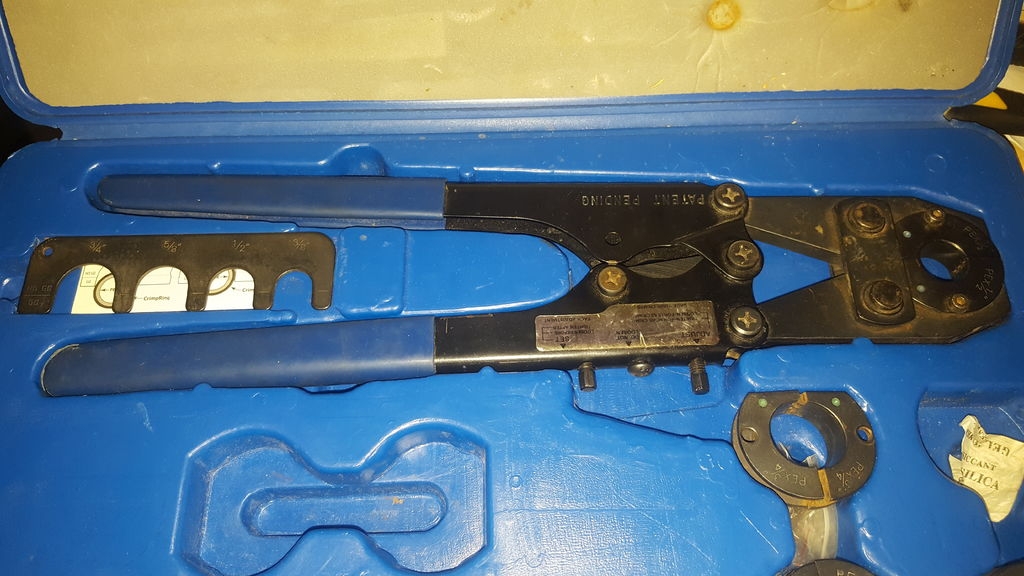
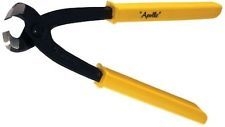
-1/2" metal crimps (only if you have access to a crimper, as they can be expensive. If not use pinch clamps, the tools can be bought for less than $20.)
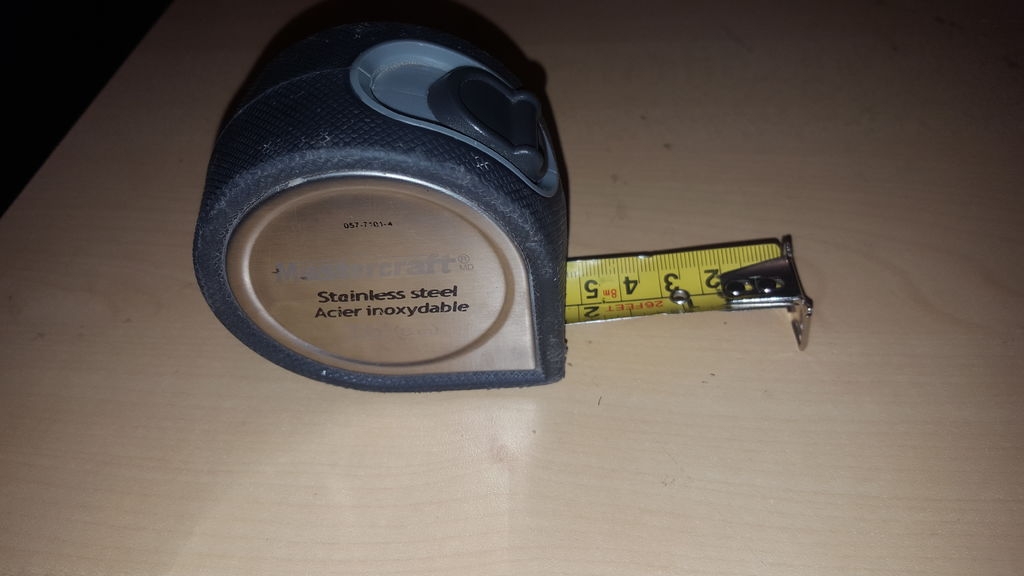
-Measuring tape (and a second pair of hands to help measure out the pex, it likes to roll back on itself!)
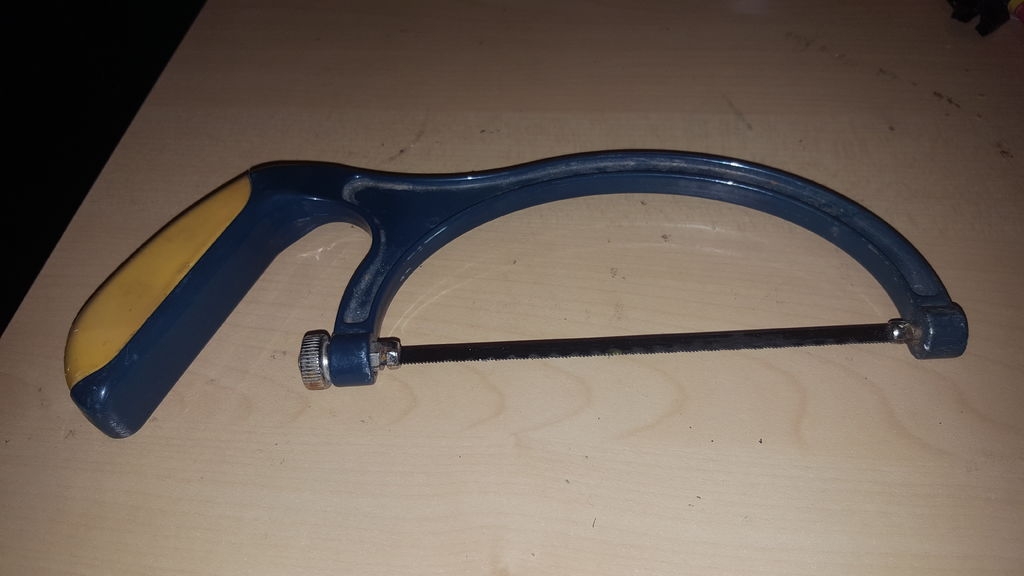
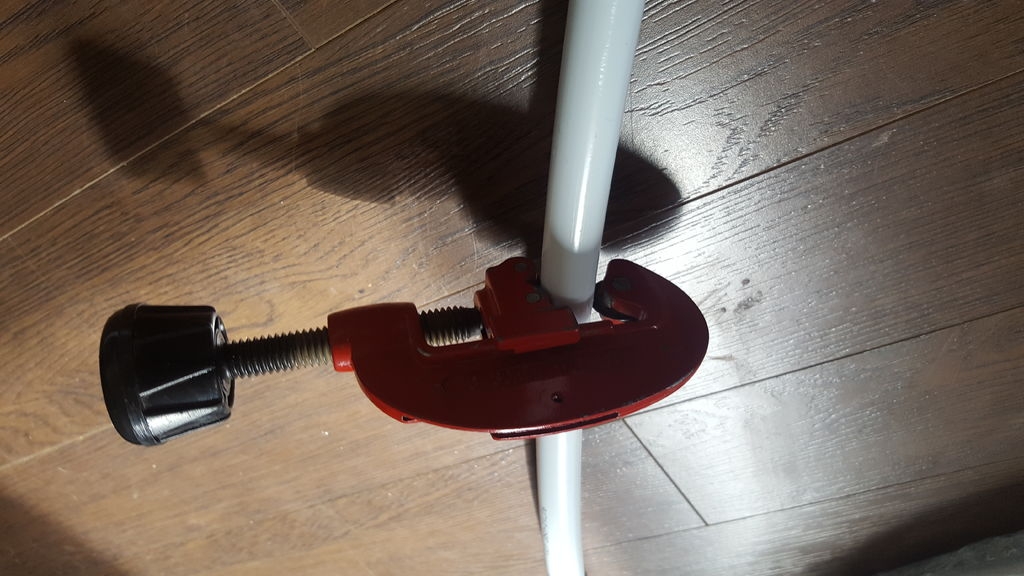
-hacksaw to cut the pipes (I used a pipe cutter to make nice cuts and finished off with the hacksaw.)
Step 2: Measuring and Cutting the Pex
Measure the pex to the length you desire. Make sure you have someone to help you with this step as it is a pain to measure by your self. It likes to roll back up by itself.
I cut 2 pieces to 10', and 8 pieces at 8'. You can cut them longer or shorter, depending on the size of the gates you want. I found the 8' gates were the most stable, but I hope to make the 10' gates more stable yet.
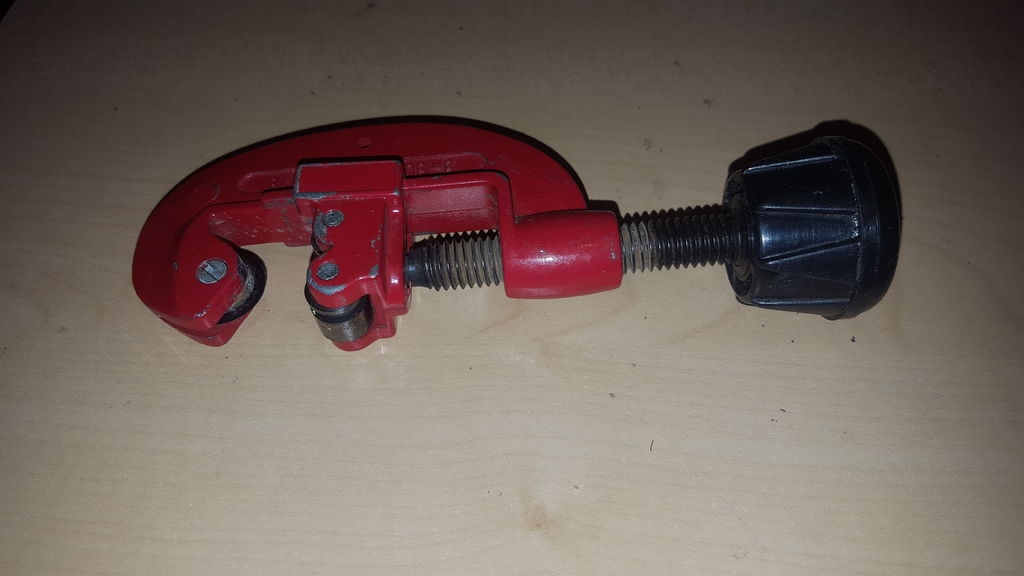
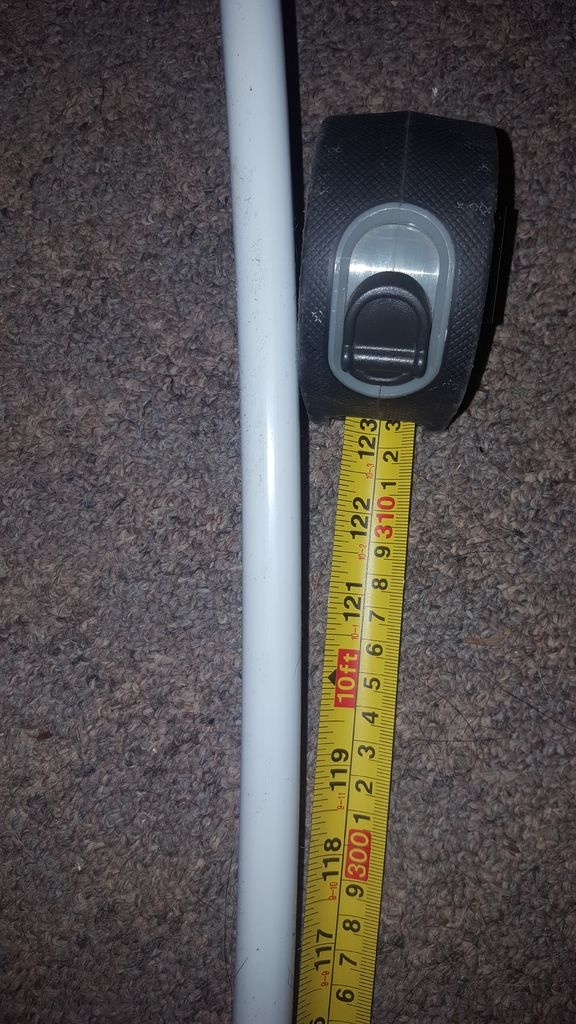
I used the tool in the picture to cut the pex (I know it's not meant for pex, but I found it worked really well and didn't need the hacksaw at all and it made cleaner cuts. But a hacksaw works fine.)
Step 3: Putting the Gates Together
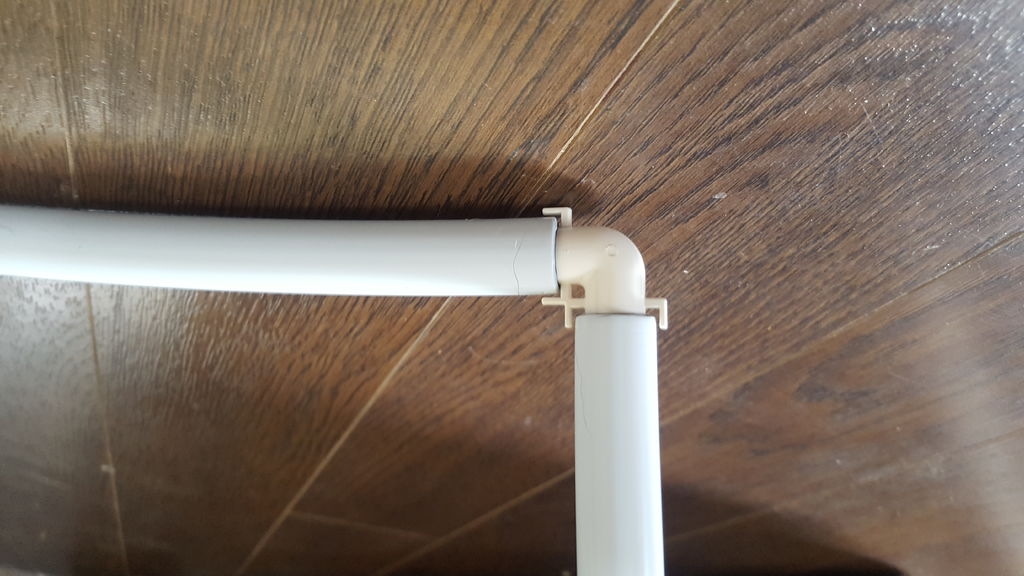

Put the pex elbows into one end of two pieces, making sure to put the crimps on first (I forgot to do that in the first picture!)
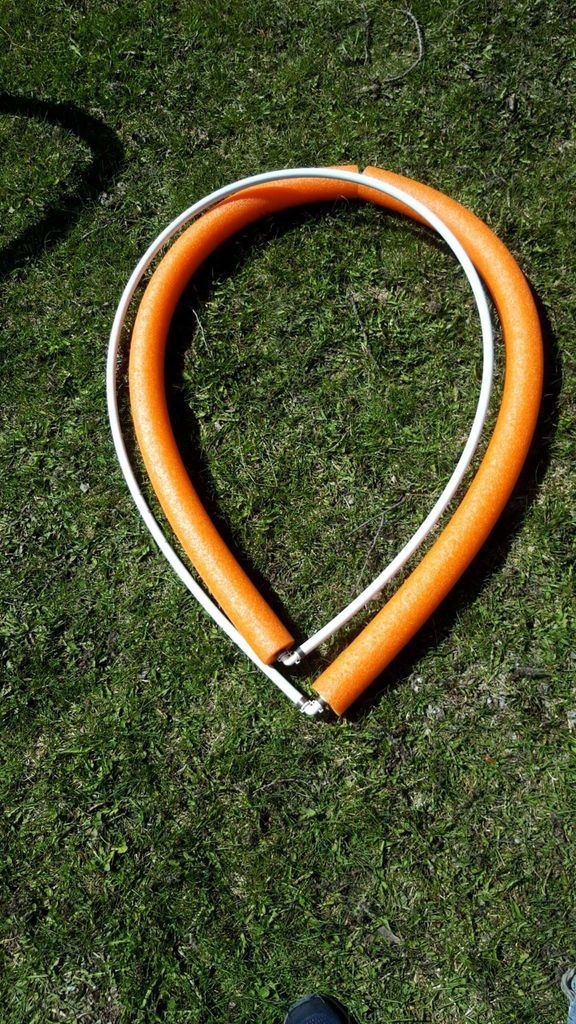
At this stage, I put the pool noodles on because once it is crimped together it can be a pain to separate as you have to cut the crimps off. 2 pool noodles for the 8' cuts, and 2 1/2 for the 10' cuts.
When crimping, make sure to crimp it as lightly as possible so that it will still rotate.
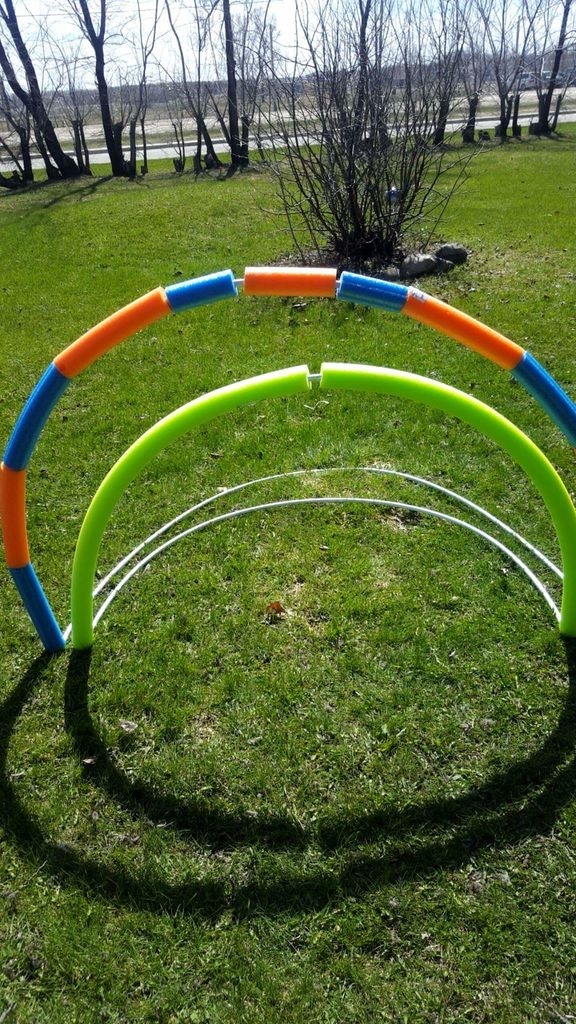
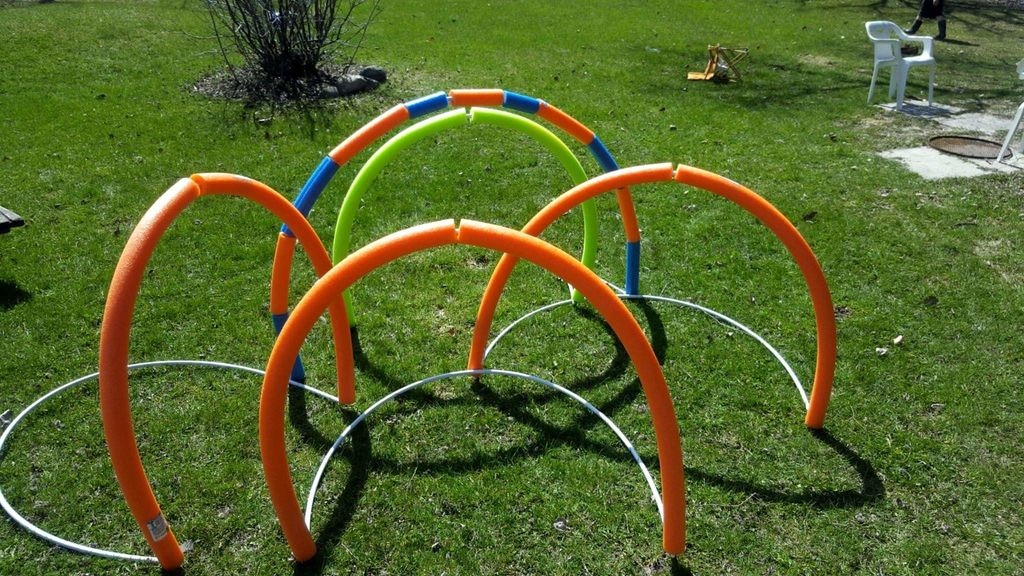
The 8' gates have a width of approximately 4' wide and just shy of 3' tall, and the 10' gates are just over 5' wide and just over 3' tall how I set them up. You can make them narrower and taller, or shorter and wider, depending on your preferences.
Step 4: Setting Up and Taking Down Gates
To set up in the field I used metal tent pegs the first time trying them out, but crashing into the gates can make them come loose, so next time I will use some U-bolts to hold them down better.
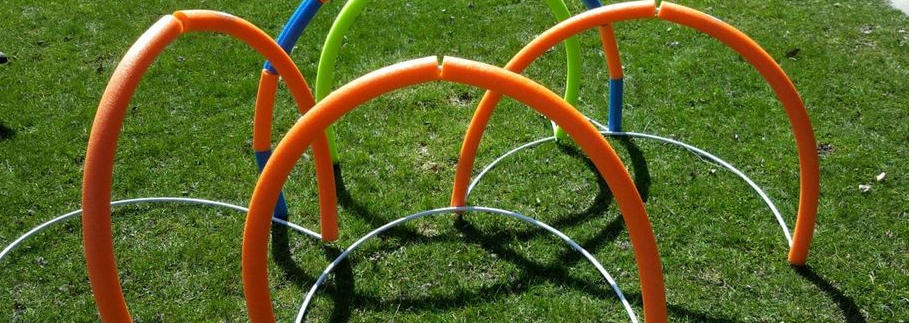
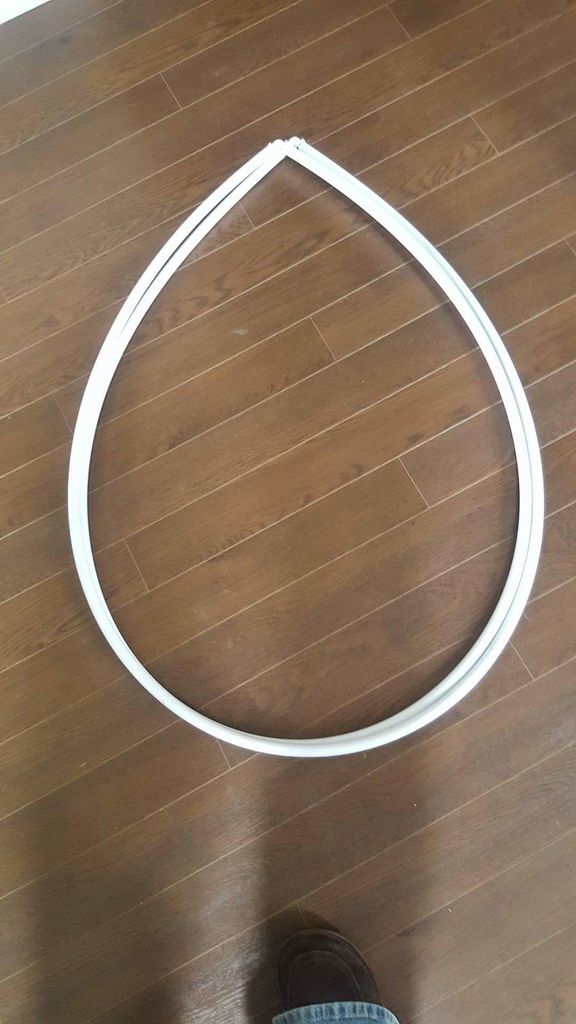
To take down the gates just pick up, and fold in on itself with a little twist and it should collapse into a raindrop shape.
The pool noodles do make them a little more bulky, and if you feel like taking them off every time, you can make a cut to put them on and off every time.
I stick them into a corner in my garage, and they stay out of the way no problem.
Step 5: Final Thoughts
I do want to try and make these better, and will update/make a new Instructable when I do.
All in, the parts cost me just a little over 60$, and I was able to make 5 gates.
I did miss taking some pictures while putting these together. I was excited as I saw them taking shape, and just wanted to give them a try.
I hope these instructions help, and if something is not clear, just message me, and I will try to help you out the best I can.
Thanks for viewing, and best of luck!
By BryanU8
Add Comment